How to Create a Telegram Chatbot with ChatGPT in Python
By Volodymyr Obrizan on May 9, 2025 · Read this post in other languages: Ukrainian Russian
In this lesson, you will learn how to create a Telegram bot that answers your questions using artificial intelligence — the ChatGPT model from OpenAI. Step by step, we will:
- register a bot in Telegram via BotFather;
- obtain OpenAI and Telegram API keys;
- set up a Python environment with the aiogram library;
- implement a bot-server that processes messages and sends them to ChatGPT;
- receive responses and send them back to Telegram.
Contents:
Step 1. Get an OpenAI API Key
For your bot to access ChatGPT, you need an API key from OpenAI. To do this:
- Register or log in at the OpenAI Platform
- Go to the API Keys section and click Create new secret key.
- Copy the generated key — it will look something like this:
sk-proj-abc1234567890...
Be sure to save this key in a safe place. It will not be shown again.
Learn more about working with the OpenAI API in the lesson: "How to work with ChatGPT using OpenAI API and Python"
Step 2. Create a Telegram Bot via BotFather
- Open the BotFather bot in Telegram via this link: https://t.me/BotFather
- Execute the
/newbotcommand and provide the following information:- any name (can contain spaces);
- a unique username ending with
bot(for example,my_gpt_bot).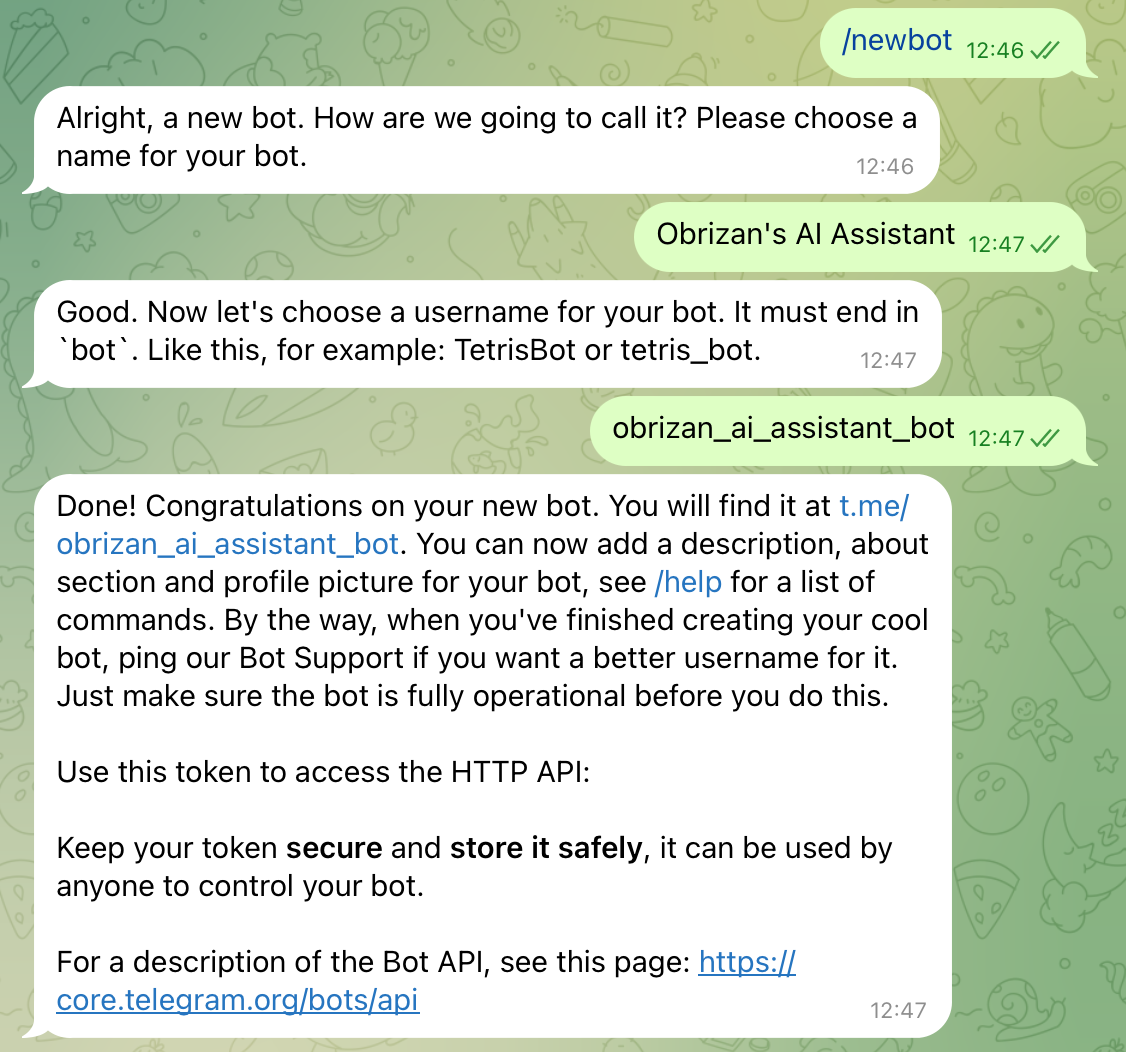
- After creation, the bot will receive a Telegram API Token, which looks like:
1234567890:AdfgqAAWEGaASDqwefeasefadfaweAEFAA.
⚠️ Note:
- Copy the token from this page because it will not be shown again (it is secret). If you lose the key, you can create a new one.
- Keep this token in a secret place and do not show it to anyone, because having this token allows performing actions on behalf of your bot.
Step 3. Create Telegram Bot Code in Python
Let's move to programming practice.
- Create a new Python project using a Virtual Environment (as we did in the tutorial "How to work with ChatGPT using OpenAI API and Python")
- Create a new file
main.pyand add the basic Telegram bot code:
import asyncio
import logging
import sys

from aiogram import Bot, Dispatcher, html
from aiogram.client.default import DefaultBotProperties
from aiogram.enums import ParseMode
from aiogram.filters import CommandStart
from aiogram.types import Message

# You can get the bot token at https://t.me/BotFather
# IMPORTANT: specify your token
TOKEN = "1234567890:AdfgqAAWEGaASDqwefeasefadfaweAEFAA"

dp = Dispatcher()


@dp.message(CommandStart())
async def command_start_handler(message: Message) -> None:
    await message.answer(f"Hello, {html.bold(message.from_user.full_name)}!")


@dp.message()
async def echo_handler(message: Message) -> None:
    try:
        # Send a copy of the received message
        await message.send_copy(chat_id=message.chat.id)
    except TypeError:
        # But not all types support copying, so handle this
        await message.answer("Nice try!")


async def main() -> None:
    # Initialize the bot instance with default properties that will be passed to all API calls
    bot = Bot(token=TOKEN, default=DefaultBotProperties(parse_mode=ParseMode.HTML))

    # Start event processing
    await dp.start_polling(bot)


if __name__ == "__main__":
    logging.basicConfig(level=logging.INFO, stream=sys.stdout)
    asyncio.run(main())
IMPORTANT: in the line TOKEN = "1234567890:AdfgqAAWEGaASDqwefeasefadfaweAEFAA" specify your Telegram bot token obtained in the previous step.
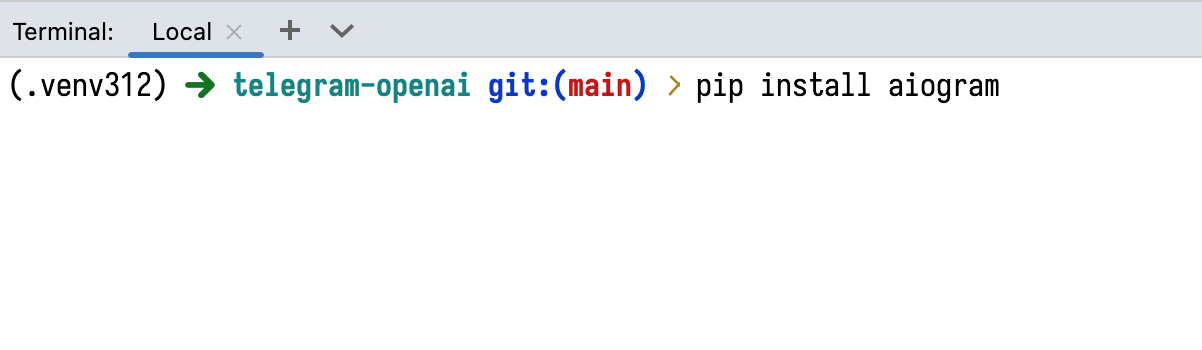
This code uses the aiogram library — a modern fully asynchronous framework for Telegram Bot API, written in Python using asyncio and aiohttp. You need to install this library in your project environment. Open the Terminal in PyCharm and run the command:
pip install aiogram
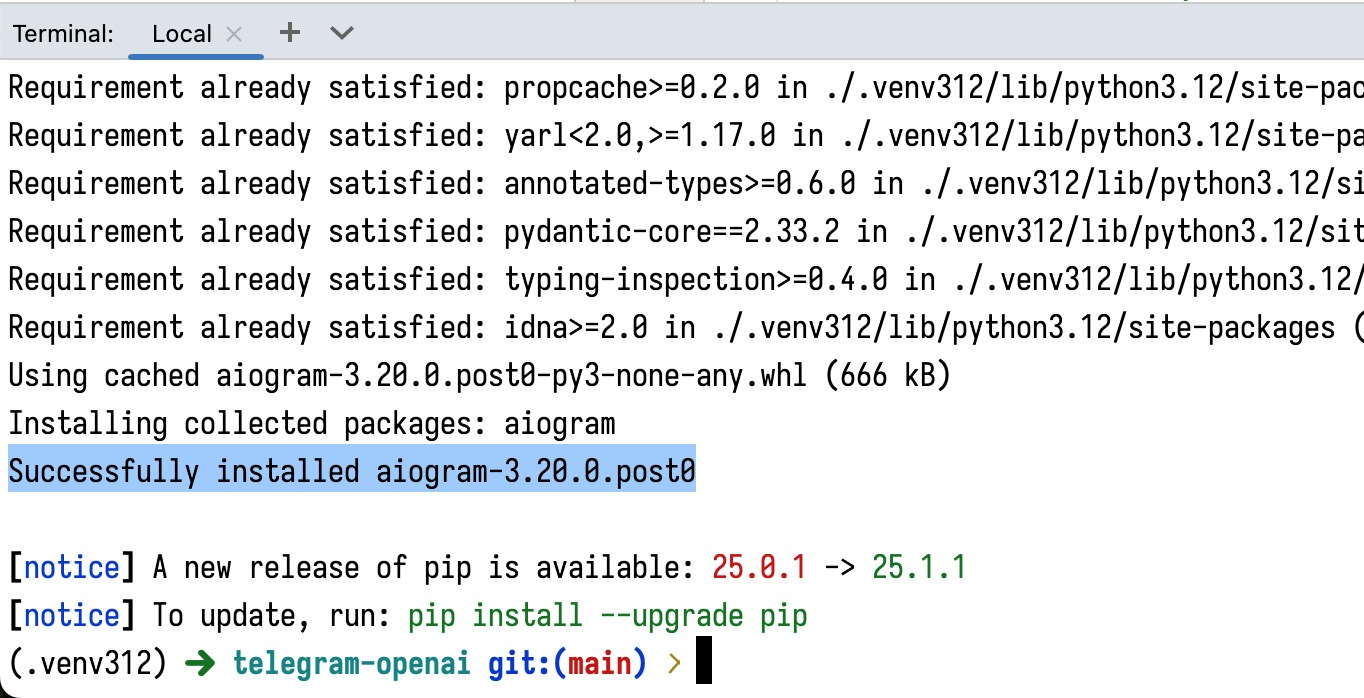
After running this command, you should see the message Successfully installed aiogram-3.20.0, as shown in the image.
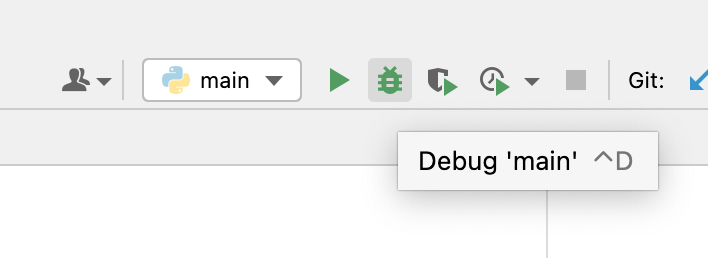
Run the main.py file using the Debug button (green bug), or via the terminal command: python main.py.
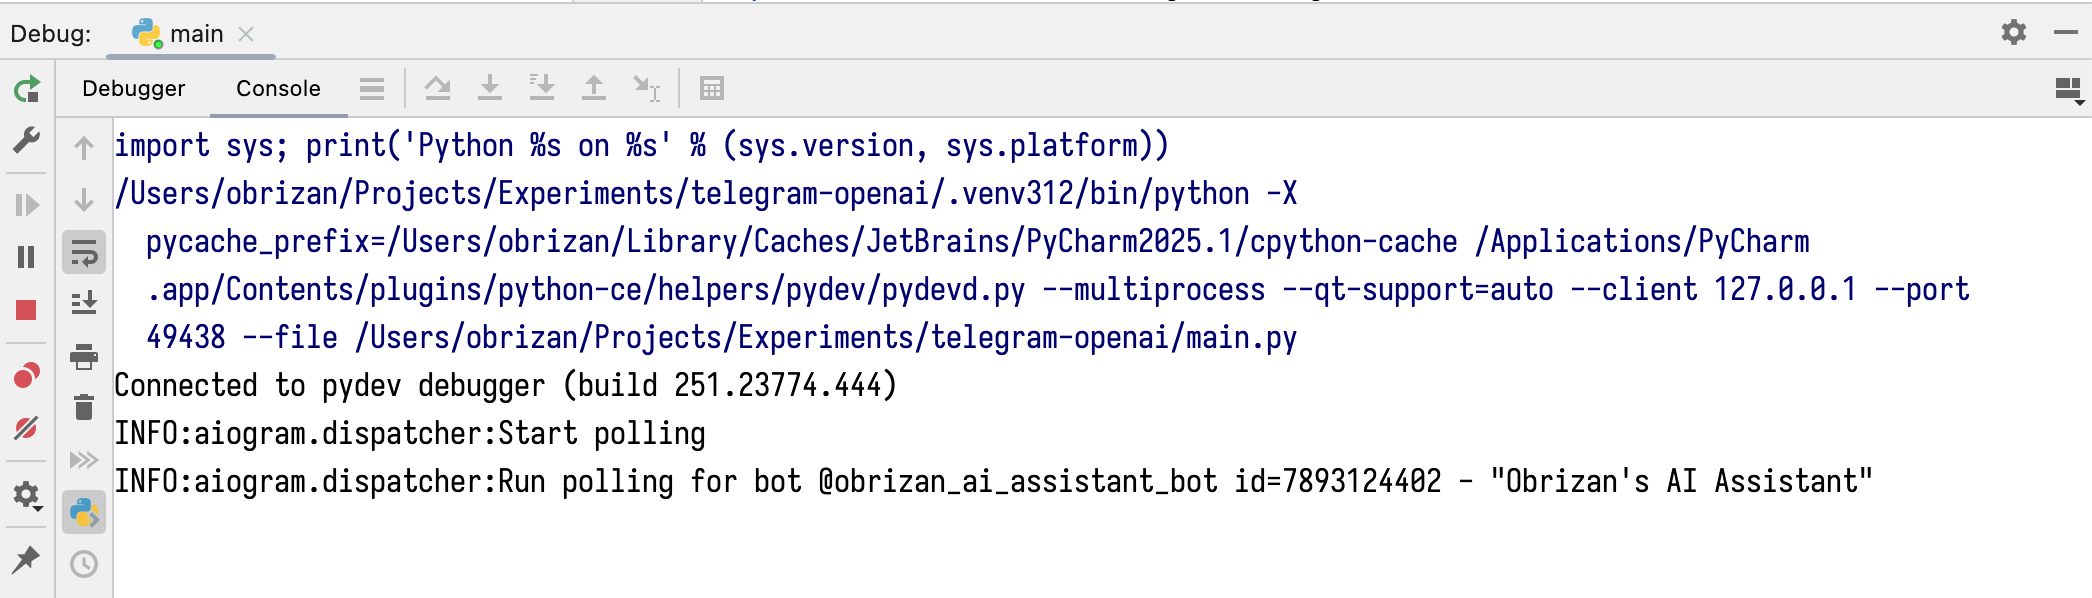
In the PyCharm terminal, you will see the message Run polling for bot @obrizan_ai_assistant_bot id=7893124402 - "Obrizan's AI Assistant", as shown below. This means the Telegram bot is ready to receive messages. (The bot name and ID will be different for you).
Open your bot in Telegram, execute the /start command. Send any message. Your bot should reply with the same message:
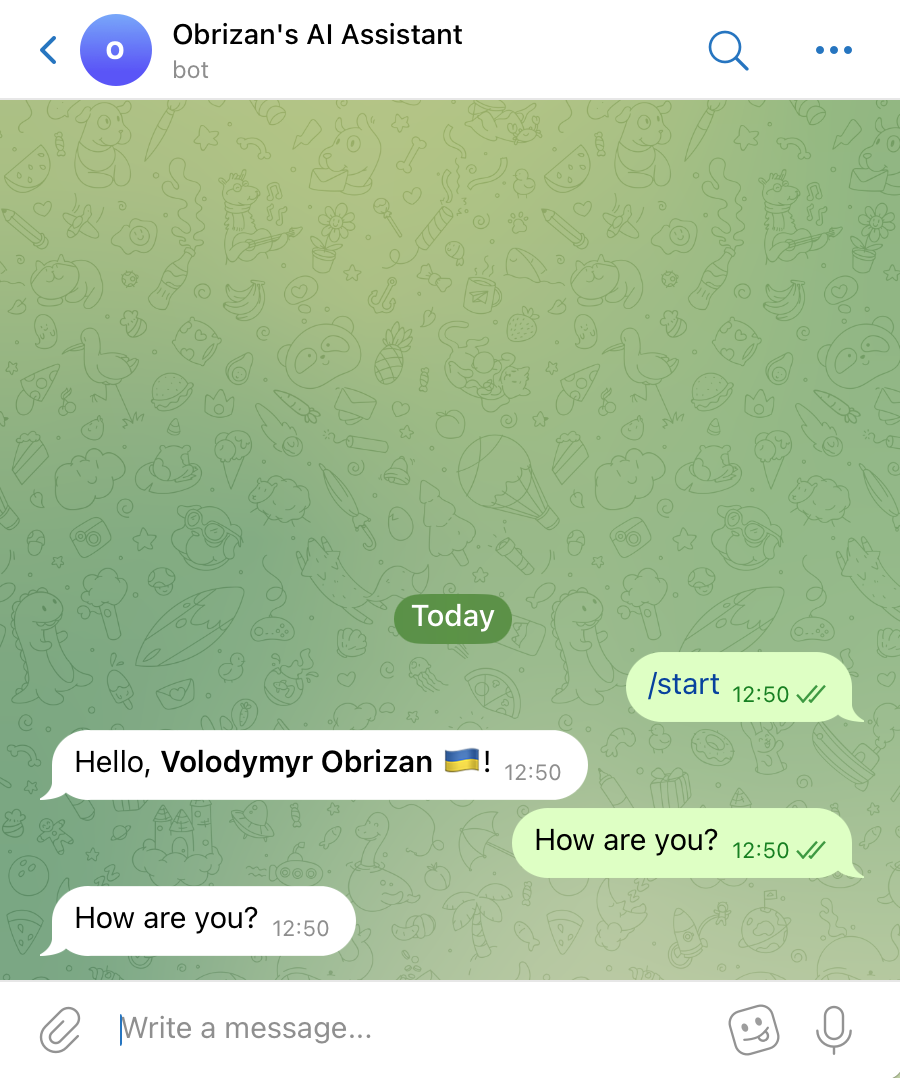
🚀 Congratulations! If you see the bot's replies, the integration is set up correctly.
Step 4. Integrate the Bot with ChatGPT via OpenAI API
In this step, we will connect ChatGPT via the OpenAI API so that artificial intelligence responds to your messages. Important: for this step, you need to have an OpenAI API key and have installed the OpenAI library (pip install openai) as described in the tutorial "How to work with ChatGPT using OpenAI API and Python"
Modify the main.py file as follows:
- add creation of the OpenAI client (important: specify your current OpenAI API key):
# IMPORTANT: specify your API key
client = AsyncOpenAI(
    api_key="sk-proj-ieqbTxAWEF0GDSgfv4K0m2..._3sROehQhz4afQWAWEASDFt9"
)
- remove the previous handler
def echo_handler(message: Message); - add a new function
def openai_handler(message: Message), where we receive the user's query, forward it to ChatGPT via the OpenAI API (methodclient.responses.create(...)), and after receiving ChatGPT's response, send it back to the user in Telegram (methodmessage.answer(...)):
@dp.message()
async def openai_handler(message: Message) -> None:
    # Forward the user's query to ChatGPT
    response = await client.responses.create(
        model="gpt-4o-mini",
        instructions="Answer in a plain text without formatting.",
        input=message.text
    )
    try:
        # Send ChatGPT's response to the user
        await message.answer(response.output_text)
    except TypeError:
        await message.answer("Can't process this request!")
The final version of the main.py file should look like this:
import asyncio
import logging
import sys
from os import getenv

from aiogram import Bot, Dispatcher, html
from aiogram.client.default import DefaultBotProperties
from aiogram.enums import ParseMode
from aiogram.filters import CommandStart
from aiogram.types import Message

from openai import AsyncOpenAI

# You can get the bot token at https://t.me/BotFather
# IMPORTANT: specify your token
TOKEN = "1234567890:AdfgqAAWEGaASDqwefeasefadfaweAEFAA"

dp = Dispatcher()

# IMPORTANT: specify your API key
client = AsyncOpenAI(
    api_key="sk-proj-ieqbTxAWEF0GDSgfv4K0m2..._3sROehQhz4afQWAWEASDFt9"
)

@dp.message(CommandStart())
async def command_start_handler(message: Message) -> None:
    await message.answer(f"Hello, {html.bold(message.from_user.full_name)}!")

@dp.message()
async def openai_handler(message: Message) -> None:
    # Forward the user's query to ChatGPT
    response = await client.responses.create(
        model="gpt-4o-mini",
        instructions="Answer in a plain text without formatting.",
        input=message.text
    )
    try:
        # Send ChatGPT's response to the user
        await message.answer(response.output_text)
    except TypeError:
        await message.answer("Can't process this request!")

async def main() -> None:
    bot = Bot(token=TOKEN, default=DefaultBotProperties(parse_mode=ParseMode.HTML))
    await dp.start_polling(bot)


if __name__ == "__main__":
    logging.basicConfig(level=logging.INFO, stream=sys.stdout)
    asyncio.run(main())
Run the main.py file using the Debug button (green bug), or via the terminal command: python main.py. Let's check communication with ChatGPT through the Telegram bot:

👏 Congratulations! You have created your own chatbot with artificial intelligence features!
Useful Links
- How to work with ChatGPT using OpenAI API and Python
- Online course "Introduction to Python" — learn syntax, data types, conditional operators, loops, algorithms, and object-oriented programming from scratch. Theory + practical tasks.
- Online course "Functional Programming in Python" — get acquainted with functional programming in Python through this guide. Learn iterators, generators, and key modules like itertools and functools.
- aiogram — modern fully asynchronous framework for Telegram Bot API, written in Python using asyncio and aiohttp.
- OpenAI Python API library